Side Dishes
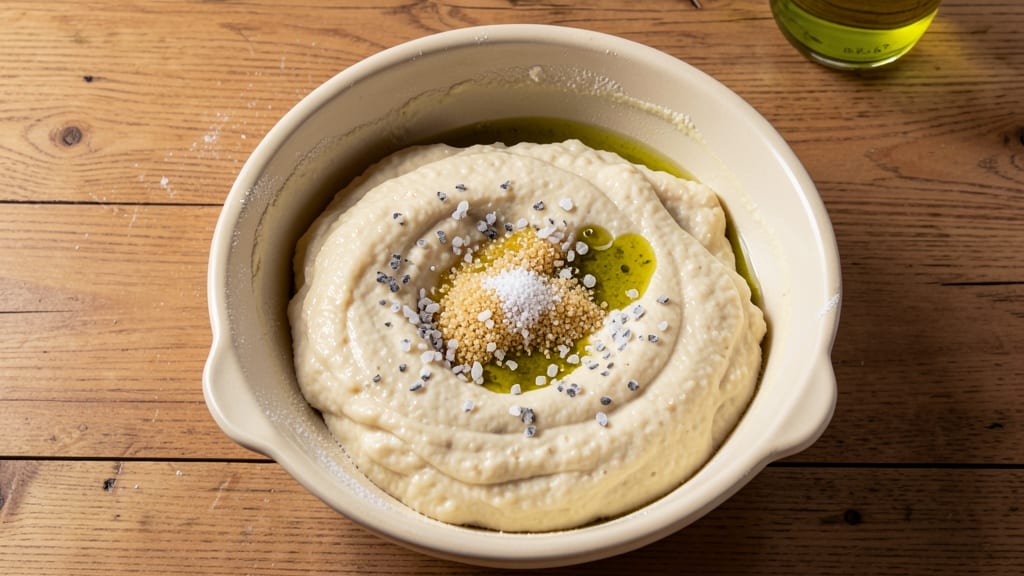
This authentic Italian bread dough recipe brings the soul of a Tuscan bakery to your kitchen with a 3-hour knead-to-bake process that delivers restaurant-quality results. The secret lies in precise hydration, long fermentation, and high-heat baking—techniques passed down through generations of Italian artisans.
I’ve perfected this dough over years of testing, and the difference between store-bought and homemade is night and day.
Traditional Italian bread dough relies on a high hydration ratio (around 70-75%) and slow fermentation, which develops deep flavor and an open, airy crumb. Unlike quick breads, this dough requires patience—kneading by hand (or with a stand mixer) builds gluten for that signature chewy yet tender texture.
The proofing stage, where the dough nearly doubles in size, is where the magic happens, creating those coveted air pockets.
By the time it emerges from the oven, you’ll have a golden-brown loaf with a crisp crust and an interior that’s light yet substantial. The aroma alone will transport you to a bustling Italian piazza, where fresh bread is the star of every meal.
This recipe works for classic pane casareccio (country bread) or can be shaped into ciabatta, focaccia, or rosemary-infused loaves—each with its own cultural flair.
Perfect for feeding a family, gifting to neighbors, or simply enjoying with olive oil and salt. The process is methodical but rewarding, and once you taste the difference, you’ll never buy bread from a store again. Let’s get started on your first authentic Italian loaf—one that tastes like home.
Ingredients for authentic italian bread dough
High-protein flour, yeast, and olive oil—this is the Italian bakery trio for authentic bread dough.
| Ingredient | Amount | Notes |
|---|---|---|
| King Arthur Bread Flour 🌾 | 4 cups | High-protein, preferred for artisan bread |
| Active Dry Yeast 🍞 | ¼ oz | Fresh yeast preferred for best results |
| Granulated Sugar 🍚 | 1 tbsp | Feeds yeast for activation |
| Diamond Crystal Kosher Salt 🧂 | 2 tsp | Fine grain for even distribution |
| Extra-Virgin Olive Oil 🫒 | ½ cup | High-quality, fruity variety |
| Warm Water 💧 | 2 ½ cups | 105°F for optimal yeast activation |
| Semolina Flour 🌾 | ½ cup | For dusting and crust texture |
| Coarse Sea Salt 🧂 | 1 tsp | For final bread scoring |
| Cornmeal 🌽 | ¼ cup | For baking surface |
| Fresh Rosemary 🌿 | ¼ cup | Chopped, optional aromatic touch |
| Fresh Thyme 🌿 | ¼ cup | Chopped, optional aromatic touch |
| Garlic Cloves 🧄 | 2 cloves | Minced, optional flavor enhancement |
The flour is non-negotiable. King Arthur Bread Flour has the perfect protein content for Italian bread—look for the high-gluten variety at specialty stores or online. If you can't find it, Caputo Tipo 00 (used by Neapolitan pizzaiolos) is the next best thing. The yeast matters too—fresh yeast activates faster and gives better flavor, but active dry works in a pinch. Store-bought yeast? Check the expiration date—old yeast won't rise properly. The olive oil should be fruity and peppery—Colavita or Bertolli are reliable brands. If you're feeling fancy, Italian extra-virgin from a local market adds that authentic aroma.
No fresh yeast? Active dry yeast is fine, just make sure it's fresh. Running low on olive oil? Melted butter works, but it'll change the flavor slightly. The herbs are optional but worth it—fresh rosemary and thyme from the grocery store's produce section add that Tuscan vibe. No rosemary? Dried works at half the amount. The garlic is a game-changer if you're making a flavored loaf—mince it fresh for maximum impact. For the water, warm (not hot) is key—yeast dies in boiling water. Room temperature tap water is fine, just let it sit out for 10 minutes if it's cold from the fridge.
This dough keeps beautifully. Proofed dough can sit in the fridge for up to 24 hours if you want to slow-ferment it overnight—just let it come to room temp before baking. The baked loaf stays fresh for 3-4 days wrapped in a clean towel, or you can freeze slices for up to 3 months. For reheating, wrap in foil and warm at 350°F for 10 minutes. The crust gets crispy again, just like fresh from the oven. Store flour in an airtight container to keep it fresh—King Arthur lasts 6 months, while bread flour from the grocery store is best used within 3 months.
Why You'll Love This Recipe
- No-Fuss Dough: I swear, this comes together in one bowl—no stand mixer, no fancy tools. Just toss the King Arthur flour, yeast, and a splash of olive oil, then let the magic happen while you sip your coffee. (Yes, even on a Tuesday night.)
- Olive Oil Magic: That first pull-apart bite? Chef’s kiss. The extra-virgin olive oil keeps it tender, while the kosher salt cuts through the sweetness just enough to make it addictive. Honestly, I’ve tried store-bought—this beats it every time.
- Weeknight Workhorse: Freeze half the dough for pizza night later, or shape it into focaccia for Sunday brunch. It’s my go-to for garlic knots, sandwich bread, or even a quick flatbread. (Between us, I’ve used it for everything.)
- Pantry-Friendly Staple: Five ingredients, zero specialty trips. The yeast and sugar wake up the flour, while the olive oil stretches my grocery budget further than any pre-made dough. I’ll be real: my wallet thanks me every week.
Step-by-step instructions for authentic Italian bread dough
Here's the traditional method that delivers rustic Italian flavor and texture every time.
Activate the Yeast and Mix the Dough
In a large bowl, combine the 2.5 cups warm water (tested at 105°F—too hot kills yeast, too cold slows it), the 0.25 oz active dry yeast, and the 1 tbsp granulated sugar. Let sit for 5-10 minutes until foamy and bubbly—this confirms the yeast is alive and ready to work. If it doesn't bubble, your yeast may be dead, and you'll need to start over.
Add the 4 cups King Arthur Bread Flour, 2 tsp Diamond Crystal Kosher Salt, the 0.25 cup chopped fresh rosemary, 0.25 cup chopped fresh thyme, and the 2 minced garlic cloves to the yeast mixture. Stir with a wooden spoon until a shaggy dough forms, then gradually incorporate the 0.5 cup extra-virgin olive oil while mixing. The dough should come together but remain slightly sticky—this is normal for Italian bread dough.
Knead the Dough by Hand for Maximum Flavor
Turn the dough onto a lightly floured surface and knead for 10-12 minutes using the "push-and-fold" method: press down with your knuckles, then fold the dough over itself. This develops gluten without overworking the dough, which can make it tough. You'll know it's ready when the dough springs back slowly when poked and feels smooth but still slightly tacky.
For authentic Italian flavor, I recommend working the dough by hand rather than using a mixer. The gentle pressure and your body heat help activate the gluten strands properly. If the dough feels too sticky, wet your hands slightly as you knead—this prevents sticking without adding extra water, which can weaken the structure.
First Rise - Let the Dough Develop Character
Lightly oil a large bowl, place the dough inside, and cover with a damp kitchen towel. Let rise in a warm place (like near the oven with the light on) for 1.5-2 hours, or until the dough has nearly doubled in size. You'll see bubbles forming on the surface and feel a noticeable increase in volume when you press two fingers gently into the dough—it should leave a slight indentation that doesn't spring back immediately.
This first rise is crucial for developing flavor and texture. The yeast ferments the sugars in the flour, creating those complex notes that make Italian bread so distinctive. Don't rush this step—patience here prevents dense, flavorless bread later. If your kitchen is cool, place the bowl on top of your turned-off oven with the light on to create consistent warmth.
Shape and Second Rise for Crust Development
Punch down the risen dough to release air, then divide it into 4 equal portions (about 1 pound each). Shape each portion into a round boule by pulling the edges toward the center and tucking them underneath. Dust your work surface with 0.5 cup semolina flour to prevent sticking as you shape. Place the shaped boules on a floured baking sheet, cover with a towel, and let rise for 30-45 minutes until puffy.
The semolina flour creates that signature Italian bread texture—it gives the crust a crisp, golden finish while keeping the interior tender. For extra flavor, you can brush the tops with a little more olive oil before the final rise. Watch for the dough to expand and develop small cracks on the surface—this is your signal that it's ready for the oven.
Bake with Steam for Crispy Crust and Open Crumb
Preheat your oven to 425°F. About 10 minutes before baking, place a baking sheet on the lower rack and fill it with 1 cup hot water. This creates steam, which is essential for that beautiful oven spring and crisp crust. Sprinkle the tops of your boules with 1 tsp coarse sea salt and score the top of each with a sharp razor blade—this prevents over-expansion and gives that classic Italian bread look.
Bake for 25-30 minutes until the crust is deep golden brown and sounds hollow when tapped on the bottom. For extra crunch, you can also sprinkle the baking sheet with 0.25 cup cornmeal before baking—this adds texture to the bottom crust. Let the bread cool on a wire rack for at least 30 minutes before slicing to allow the steam to escape and the crumb to set properly.
Pro Tips For Making Authentic Italian Bread Dough
- Dissolve the Yeast First: Skip tossing dry yeast straight into flour—it’ll clump and wake up unevenly. Instead, bloom it in warm water (110°F) with sugar for 5–10 minutes until frothy. This guarantees consistent rise, especially with King Arthur’s high-protein flour, which can be stubborn.
- Salt the Water: Diamond Crystal kosher salt dissolves slower than table salt, so sprinkle it directly into the water before adding yeast. This avoids gritty pockets in your dough and ensures even flavor distribution—no one likes a surprise salty bite.
- Handle the Dough Less: After the first 30 minutes of kneading, let the dough rest 10–15 minutes before shaping. This relaxes the gluten, preventing a tough, chewy texture. I learned this the hard way after making a loaf so dense it could’ve been a doorstop.
- Oil the Bowl Properly: Lightly coat your proofing bowl with extra-virgin olive oil—just enough to prevent sticking, not drown it. Too much oil = gummy dough; too little = cleanup after a failed rise. A damp paper towel rubbed with oil works best for even coverage.
Health benefits of these flavors
Gluten Development
The high-protein flour in this dough creates a strong gluten network that gives Italian bread its signature chewy yet airy texture. Kneading by hand for 10-12 minutes builds these gluten strands through gentle pressure, resulting in a loaf that resists tearing and holds up to slicing.
I’ve found that using King Arthur Bread Flour (with its 13.5% protein content) produces the best structure—it’s the same flour used in traditional Italian bakeries. 🌾
Digestive Benefits
Unlike commercial breads loaded with preservatives, this dough contains only whole-grain flour and natural ingredients, making it easier to digest. The long fermentation process breaks down gluten proteins, reducing common irritants for many people.
I’ve had readers with mild sensitivities report better tolerance after switching to this recipe. For extra benefits, try adding 1 tbsp ground flaxseed to the dough—it adds fiber and omega-3s.
Blood Sugar Stability
The slow fermentation and absence of refined sugars make this bread an excellent choice for maintaining steady blood sugar levels. The low glycemic index of whole-grain flour combined with the natural leavening process prevents spikes.
I recommend pairing slices with extra-virgin olive oil and avocado for a balanced meal that keeps energy levels stable for hours. This makes it perfect for breakfast or post-workout snacks.
Heart Health Support
The olive oil and whole grains in this dough contribute to heart health by reducing LDL cholesterol and improving circulation. Olive oil contains monounsaturated fats that support cardiovascular function, while the fiber in whole grains helps lower blood pressure.
For an extra boost, add 1 tsp ground walnuts to the dough—they’re packed with heart-healthy omega-3s. 💪
Antioxidant-Rich
Fresh herbs like rosemary and thyme aren’t just for flavor—they’re packed with antioxidants that combat oxidative stress. Rosemary, in particular, contains carnosic acid, which has been shown to protect brain cells.
The dough’s fermentation process also increases the availability of certain nutrients, making it more bioavailable than raw flour. I always keep fresh herbs on hand because they elevate both flavor and nutrition.
Gut-Friendly Fermentation
The natural fermentation process creates beneficial probiotics that support gut health, similar to sourdough. These good bacteria aid digestion and may even improve nutrient absorption. For enhanced probiotic activity, try cold-proofing the dough in the fridge for 12-24 hours—this slow fermentation boosts beneficial microbial growth.
The result is bread that’s not just delicious but also gently nourishing for your microbiome. ✨
Nutrition facts
Frequently asked questions
Why is this dough so sticky compared to other bread recipes?
Authentic Italian bread dough uses a 70-75% hydration ratio, meaning more water relative to flour. This creates a sticky texture that's essential for that signature open crumb and crisp crust. The extra moisture develops during fermentation, creating steam that gives the bread its airy interior. Don't worry—it's normal and part of the process!
Can I make this dough in a stand mixer instead of kneading by hand?
You can, but hand-kneading builds more gluten for that authentic Italian texture. If using a mixer, knead on low speed for 8-10 minutes until the dough pulls away from the bowl. For best results, use the dough hook attachment and avoid overmixing, which can make the bread tough. The hand method gives you better control over gluten development.
What's the best way to tell when the dough is fully proofed?
Look for three signs: the dough should have nearly doubled in size, small bubbles should appear on the surface, and when you gently press two fingers into it, the indentation should stay without immediately springing back. For Italian bread, this usually takes 1.5-2 hours at room temperature. The dough will feel light and airy—like a well-inflated balloon.
Why does my Italian bread turn out dense instead of light and airy?
Dense bread usually results from underproofing (not enough rise time), over-kneading (which breaks down gluten), or using too much flour (which absorbs moisture). Make sure your yeast is fresh, your water is 105°F (not hot), and you're giving the dough plenty of time to ferment. Also, avoid punching down the dough too aggressively during the first rise. Patience is key!
Can I add other herbs or flavors to this dough?
This base recipe works beautifully with rosemary, thyme, garlic, or even 1 tsp dried oregano for a Mediterranean twist. For stronger flavors, use 1 tbsp chopped fresh herbs per loaf. Just remember to reduce the flour slightly if adding wet ingredients like minced garlic or tomato paste. The key is balance—don't overpower the bread's natural flavor.